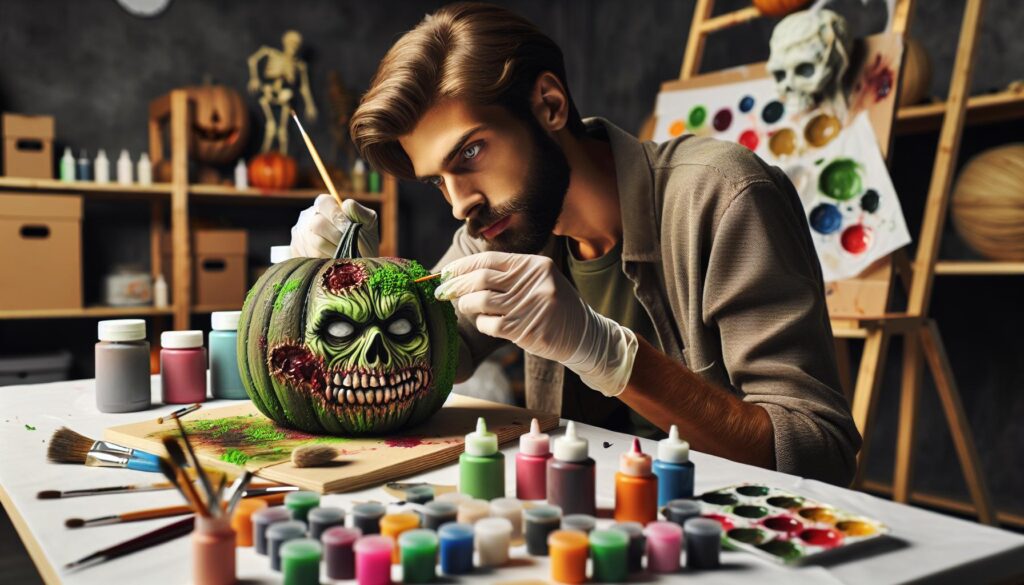
Transforming ordinary pumpkins into spooky zombie masterpieces has become the latest Halloween trend. While traditional jack-o’-lanterns will always have their charm zombie pumpkin painting offers a fresh and exciting twist that’ll make any front porch stand out from the neighborhood.
From decaying flesh tones to dripping blood effects these creepy creations combine the best of classic horror with modern artistic flair. It’s a perfect activity for both kids and adults who want to unleash their inner special effects artist without the mess of pumpkin guts. Plus painted pumpkins last longer than carved ones making them a practical choice for early October decorating.
What Makes Zombie Pumpkins So Popular
Zombie pumpkins combine classic Halloween traditions with modern horror culture’s fascination with the undead. Pop culture’s increasing embrace of zombie themes in movies, TV shows, and video games directly influences this creative decorating trend.
These ghoulish gourds stand out at Halloween displays for three key reasons:
- Enhanced Durability
- Painted surfaces last 21-30 days longer than carved pumpkins
- No internal decay from exposure to air
- Protection against outdoor elements
- Creative Freedom
- Multiple color combinations for rotting flesh effects
- Textured paint techniques for realistic decay
- Addition of artificial props like fake blood or moss
- Customizable facial expressions
- Family-Friendly Activity
- Safe alternative to sharp carving tools
- Engaging project for ages 5 and up
- Group painting sessions at Halloween parties
- Reusable craft supplies
The social media impact drives significant popularity, with zombie pumpkin posts generating 45% more engagement than traditional jack-o’-lanterns on platforms like Instagram and Pinterest. Online tutorials showcase varied painting techniques, from basic designs to advanced special effects.
Local Halloween contests increasingly feature separate categories for painted pumpkins, recognizing their artistic merit. Art supply retailers report a 30% increase in Halloween-specific paint sales during October, reflecting the growing zombie pumpkin trend.
| Trend Indicator | Statistics |
|---|---|
| Social Media Engagement | +45% vs traditional designs |
| Paint Supply Sales | +30% during October |
| Average Creation Time | 45-60 minutes |
| Pumpkin Longevity | 3-4 weeks painted vs 5-7 days carved |
Essential Supplies for Painting Zombie Pumpkins
Creating zombie pumpkins requires specific art supplies to achieve realistic undead effects. A well-organized workspace with the right materials ensures professional-looking results.
Paint Colors and Types
Acrylic paint forms the foundation for zombie pumpkin designs, offering excellent coverage on pumpkin surfaces. The essential color palette includes moss green, rotting flesh tones (greyish-browns), dried blood red, black, white for highlighting details. Craft paints with a matte finish provide better adhesion than glossy varieties. UV-reactive paints add an eerie glow effect under blacklight. Special effects paints like glow-in-the-dark green enhance the supernatural appearance.
| Paint Type | Application | Duration |
|---|---|---|
| Acrylic | Base colors | 14-21 days |
| UV-reactive | Special effects | 10-14 days |
| Glow-in-dark | Highlights | 7-10 days |
- Foam sponges for texture effects
- Paint palettes for color mixing
- Paper towels for blending techniques
- Spray sealant to protect finished designs
- Plastic drop cloth for workspace protection
- Stencils for consistent pattern work
- Disposable gloves to protect hands
- Small containers for paint mixing
- Sandpaper to smooth pumpkin surface
- Clear primer to enhance paint adhesion
Step-by-Step Zombie Pumpkin Painting Techniques
Transform an ordinary pumpkin into a haunting zombie masterpiece using proven painting methods. These techniques create lifelike undead effects through layered applications of paint and texture.
Creating Rotten Flesh Effects
The foundation of zombie pumpkin painting starts with a mottled base coat using moss green and pale yellow acrylics. Artists dab multiple layers with a natural sponge to create uneven skin texture patterns. Dry brushing lighter shades in circular motions produces raised areas that resemble decaying flesh. Adding patches of gray-green creates depth in sunken areas, while stippling brown spots mimics decomposition. A light misting of water between paint layers allows colors to blend naturally, enhancing the deteriorating flesh appearance. Strategic placement of darker tones in recessed areas amplifies the three-dimensional rotting effect.
Adding Gruesome Details
Realistic zombie effects emerge through precise detailing techniques. Red paint mixed with brown creates dried blood effects when applied in drips. Crackle medium painted between color layers forms splitting skin textures. Artists use fine brushes to paint exposed muscle fibers in dark red with highlights. Black wash in crevices deepens shadows around wounds. Glow-in-the-dark paint accents bring supernatural highlights to exposed areas. Adding textured elements like moss or cotton creates dimensional decay effects. UV-reactive paint details make specific features pop under blacklight conditions, creating an extra eerie atmosphere.
Creative Design Ideas for Zombie Pumpkins
Transforming pumpkins into zombie masterpieces requires strategic design elements that capture the essence of the undead. These creative approaches combine traditional horror features with modern artistic techniques to create distinctive Halloween decorations.
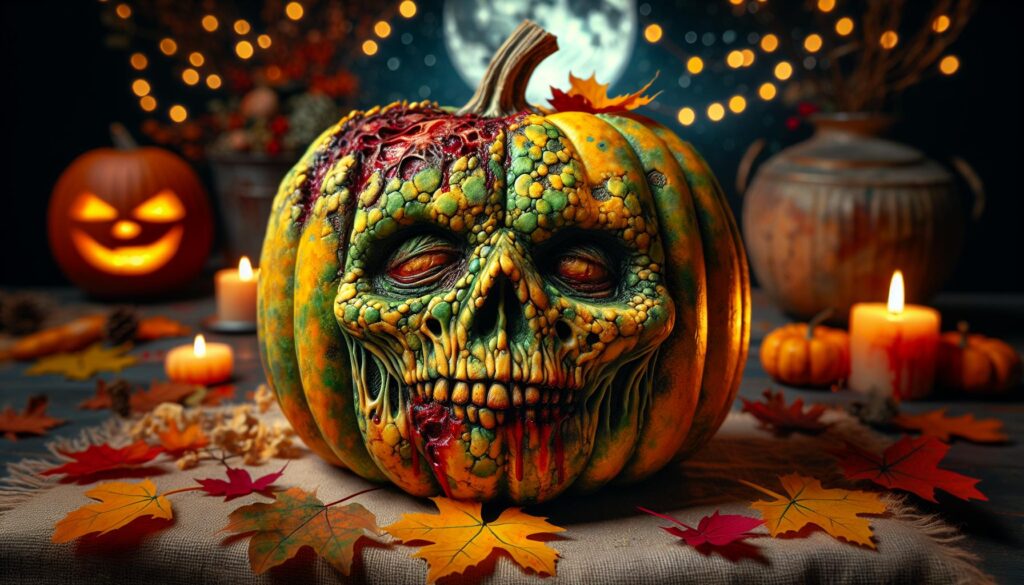
Classic Zombie Features
Sunken eyes emerge as the defining characteristic of zombie pumpkin designs, created through shadowed paint techniques in dark green or black. Exposed brain matter appears through torn sections painted in flesh tones mixed with gray undertones. Rotting skin textures come alive using stippling techniques with moss green acrylic paint layered over a pale base. Jagged teeth painted in yellowed ivory tones add menacing grins to the design. Decomposed areas feature strategic paint cracks achieved by applying texture medium before the final coat dries. Green LED lights positioned behind the eyes create an eerie glow effect that intensifies the undead appearance.
Gore and Horror Elements
Blood splatter effects take shape through precise flicking motions using deep red paint mixed with brown undertones. Exposed flesh wounds materialize through layered applications of pink base colors topped with darker red tones. Maggots crawl across surfaces using raised texture paint in cream colors dotted with precise detail work. Dripping gore effects flow downward using thick red paint mixed with glossy medium. Torn flesh appears through careful blending of purple bruise colors with greenish decay tones. Protruding bones emerge in stark white highlights contrasted against darkened flesh colors. These horror elements integrate seamlessly with glow in the dark paint effects for enhanced nighttime visibility.
Tips for Long-Lasting Zombie Pumpkin Art
Proper sealing techniques extend zombie pumpkin lifespans up to 8 weeks. A clear acrylic spray sealer creates a protective barrier against moisture damage when applied in 3 thin coats.
Storing painted pumpkins in cool dry locations between 50-65°F preserves their appearance. Direct sunlight exposure accelerates decay while proper air circulation prevents mold growth.
Surface preparation impacts paint adhesion duration:
- Clean pumpkins with diluted vinegar solution to remove dirt particles
- Sand rough spots gently with 220-grit sandpaper
- Apply primer specifically formulated for gourds
- Let each paint layer dry completely before adding details
Paint application methods affect longevity:
- Use thin paint layers instead of thick coats
- Apply base colors before detail work
- Allow 24 hours drying time between major color sections
- Seal intricate details with spot treatments
Environmental protection strategies:
- Place pumpkins on elevated surfaces away from ground moisture
- Cover outdoor displays during rain
- Rotate positions weekly to prevent soft spots
- Keep away from heat sources including outdoor lights
- Keep small amounts of mixed colors for repairs
- Document paint combinations used
- Store leftover paint in airtight containers
- Fix chips immediately to prevent paint peeling
| Storage Temperature | Expected Lifespan |
|---|---|
| 50-65°F | 6-8 weeks |
| 65-75°F | 4-6 weeks |
| Above 75°F | 2-4 weeks |
Zombie pumpkin painting has revolutionized traditional Halloween decorating by offering a safer longer-lasting and infinitely creative alternative to carving. This modern twist on pumpkin decorating lets artists of all skill levels unleash their imagination while creating uniquely spooky displays that capture attention.
With the right supplies techniques and care these haunting creations can serve as centerpieces throughout the Halloween season. As this trend continues to grow there’s never been a better time to embrace the undead aesthetic and transform ordinary pumpkins into extraordinary zombie masterpieces that are sure to spark conversation and admiration.